Scheduling tasks
Tasks can be added to a job in a number of ways. You can add a task by clicking on an empty tile in the Planner, either from the main Planner page or the Planner tab of the job card (see above), or you can click on the Add Task button on the top right of the job card.
You can also use templates configured in Job settings from the Add Task dropdown:
- Add Task from Template: create one task from a saved Task Template.
- Run Job Template: run an ordered Job Template step-by-step.
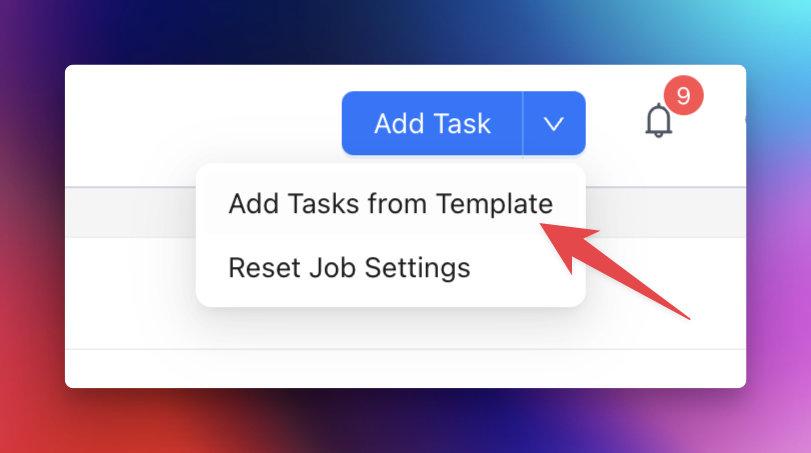
When creating a task from either template flow, Neptune pre-fills details from the selected template:
- title and description
- start/end form requirements
- default assignee (if available)
- duration-based end date when you set the start date
When running a Job Template with multiple steps:
- the button changes to Save & Next
- after saving each step, Neptune loads the next step template
- the next start date is calculated from the previous task end + gap
- if a step has a gap override, that override is used
- otherwise Neptune uses the gap from the step’s Task Template
- if Business days only is enabled on the Job Template, weekend dates are skipped
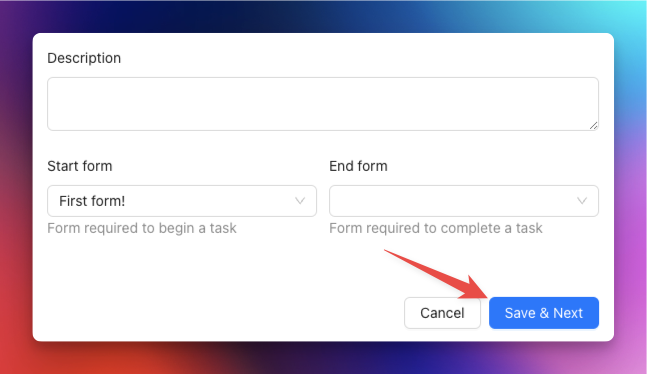
If a Job Template run is already in progress for that job, Neptune resumes where you left off. If the run is already completed, Neptune asks whether you want to start again from the beginning.
Reset job settings
The Add Task dropdown also contains Reset Job Settings. If you change Job Settings in admin, existing jobs are not updated automatically. Resetting a job applies the current organisation Job Settings to that job.
Important: this also resets template-run progress for that job. Any completed required uploads will be required again, and template runs can start over from the beginning.