Customer Uploads
The uploads tab on a customer page contains a list of files or images uploaded against that customer record. Uploads can be categorised however you like. You do this by creating custom upload categories in your admin settings.
Uploading a file
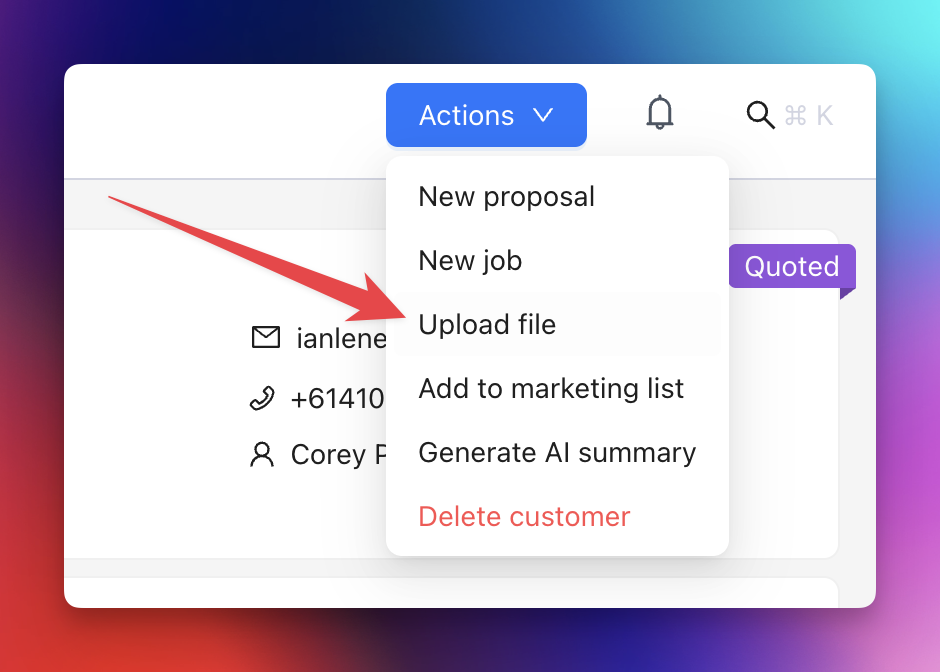
To upload a new file, hover over the customer Actions button and select Upload file. A modal will open, where you can then select a file to upload.
Once you have selected a file, you will see the filename and two fields. One is an optional label. By putting a value in the label field, you can essentially override the original filename with something that might make it easier for you to identify what the file is. If you leave this empty, you will see the original filename in the list of uploads. The second field is a Select where you can choose from one of your custom upload categories, but only if you have set them up already. Once you’re ready, click Upload.

Uploads tab
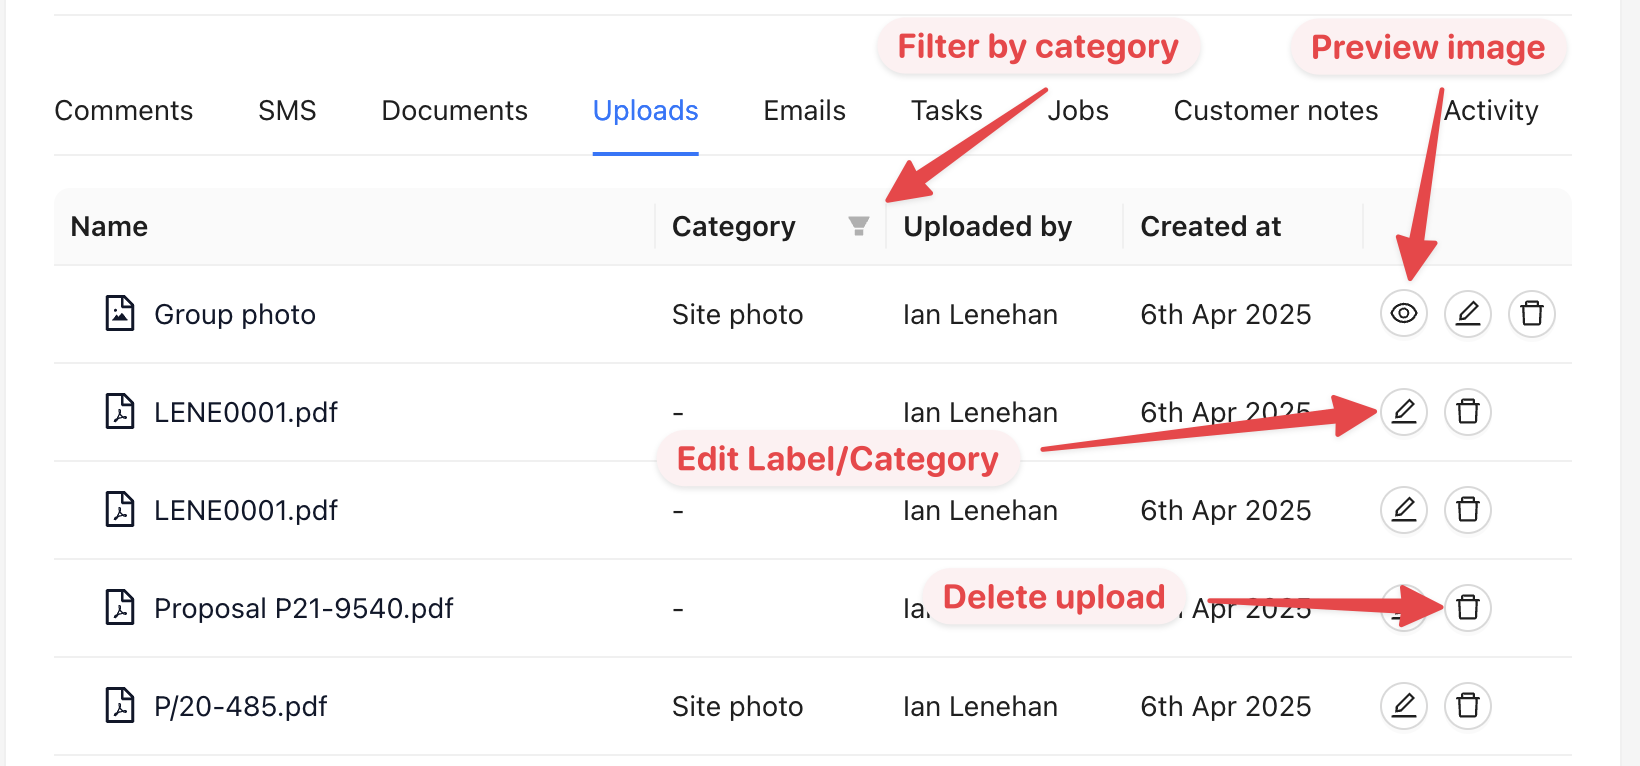
The uploads tab in the customer record will show a list of all uploads in date order.
- Click on the name of the upload to open the file.
- If you have upload categories set up, you can filter your files by category.
- An uploaded image can be previewed in a modal. If available, you can click the eye icon to quickly preview the image.
- To edit the upload label or category, click on the pencil icon. This will open a modal where you can make your changes.
- If you want to permanently delete an uploaded file, click on the trash icon.