Workflow
Neptune CRM Location: Admin > Workflow
This is only accessible to users with admin privileges.
This page contains workflow settings for statuses, sources, categories, and product attributes. These provide additional control over categorisation and filtering throughout the app.
Customer statuses
Customer statuses help your team track each customer through your sales and pre-construction process. Administrators control the available statuses, the status shortcuts above the Customers table, and the columns on the Customer Board.
Neptune includes the following default statuses:
- New customer
- Contacted
- Hot Prospect
- Quoted
- Contract
- Lost
- Disposed
New customer, Quoted, and Contract are protected because Neptune automations use them. The other default statuses work like custom statuses: you can rename or remove them when no customers are assigned to them.
Configure customer statuses
- Open Admin > Workflow > Customer statuses.
- Change the name or colour of any unprotected status as needed.
- To create a status, select Add status, enter its name, and choose a colour.
- Use Show as quick filter to choose which statuses appear above the Customers table.
- Drag the statuses in the Quick-filter preview into the order you want them to appear.
- Use Show on Board to choose which statuses appear as Customer Board columns.
- Drag the statuses in the Customers Board preview into the order you want the columns to appear.
- Select Save changes.
The status list in customer forms remains alphabetical. The preview order controls only the quick filters or Board columns shown in that preview.
Quick-filter choices and board columns are independent. Other statuses remain available under More statuses in the Customers table.
You cannot rename or remove a status while customers are assigned to it. Go to Customers > Table, filter and select the affected customers, then use the bulk status action to move them to another status. Return to the settings after no customers use the old status. Protected statuses cannot be renamed or removed.
Filter customers by status
Use the status shortcuts above the Customers table to show one or more statuses at the same time:
- Select a quick filter to add or remove that status from the results.
- Open More statuses to select statuses that are not shown as shortcuts. A selected status also appears beside the quick filters so you can see every active selection.
- Select All to remove all status filters.
- Select Reset to return the status filters to All without clearing your other customer filters.
- Use the Status column filter when you prefer to filter from the table header.
Use the Customer board
Open Customers and select View Board. Select View Table to return to the list. Each visible status appears as a column. Customer cards show the customer name, suburb, consultant, and last updated date.
If you already filtered the Table, the same filters apply to the Board. A warning at the top of the Board reminds you that filters are active and links back to the Table to adjust them. A customer status filter may leave only one column visible.
You can:
- Drag a customer card into another column to change its status.
- Sort the cards by Newest first or Oldest first using the last updated date.
- Select a customer name to open the customer record.
To display the board on a large screen, select the full-screen icon in the board toolbar. Neptune hides the side menu and page title so the columns fill the window. Filters and dragging still work. Select the same icon again, or press Escape, to leave full screen. Opening a customer card also restores the usual layout.
Anyone who can already change a customer’s status can move customer cards. Only administrators can configure the available statuses, their order, and their board visibility. See User Roles and Permissions for more information.
Fix an unconfigured status
If a customer uses a status that is not configured, Neptune highlights it in the Customer Table and on the customer record. The customer does not appear on the Board until the status is corrected.
Open the customer from the Table, select Select status in the warning, choose an existing status, and save the customer. If the old status should remain part of your workflow, ask an administrator to add it in Admin > Workflow > Customer statuses before selecting it.
Lead sources
Lead sources show how a lead, customer, or enquiry first reached your business. Neptune includes a set of default sources, and administrators can add sources that match their own marketing channels.
- Open Admin > Workflow > Lead sources.
- Select Add new source.
- Enter a clear label, such as “Display centre” or “Trade show”.
- Select Save Sources.
Default lead sources cannot be changed. You can add custom sources at any time, but Neptune will not save a rename or removal while records still use that source. Change the source on the affected leads, customers, or enquiries first, then return to settings and try again. This keeps source filters and sales reports consistent.
If a report contains an older source that is missing from the filter, add that exact source label again so the affected records can be found and updated.
Product attributes
Product attributes add business-specific fields to each product. They can also be used by custom pool pricing setups. See Working with Base Product Attributes for field types, examples, and setup steps.
You can add attributes at any time. Neptune will not save a renamed or removed attribute while a product or pricing setup still uses it. Update those products or pricing setups first, then return to Admin > Workflow, open the attributes tab for your product type (for example, Pool attributes), and make the change.
Lead statuses
Lead statuses help your team organise new enquiries before conversion. Administrators control the available statuses and the status shortcuts shown above the Leads table.
New, Triaged, and Converted are protected because Neptune automations use them. Qualified, Unsuitable, Lost, and any statuses your team adds can be renamed or removed when no leads are assigned to them.
Configure lead statuses
- Open Admin > Workflow > Lead statuses.
- Change the name or colour of any unprotected status as needed.
- Use Show as quick filter to choose which statuses appear above the Leads table.
- Drag the statuses in the Quick-filter preview into the order you want them to appear.
- To create a status, select Add status, enter its name, and choose a colour.
- Select Save changes.
You cannot rename or remove a status while leads are assigned to it. Go to Leads, filter and select the affected leads, then use Assign status in the bulk action bar to move them to another status. Return to the settings after no leads use the old status.
File categories
Adding custom file categories under the File categories tab enables you to add your own categories to files that you upload in the Files page.
To get started, click on the Add new category button. In the text field that appears, type in your first custom file category, for example “Brochures”. Continue to press Add new category as many times as required. Click on the blue Save categories button to save your changes to the database.
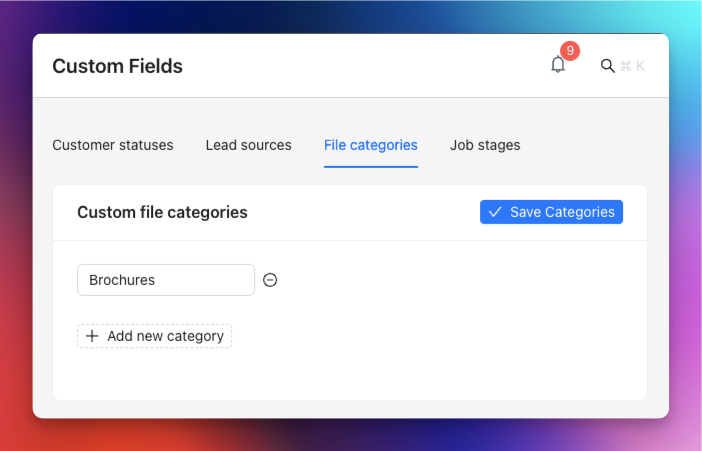
You can add categories at any time. To rename or remove a category, first change any files that currently use it to another category. Neptune will not save the change while files are still assigned to the old category.
Upload categories
Adding custom upload categories under the Upload categories tab enables you to add your own categories to files that you upload against a customer.
To get started, click on the Add new category button. In the text field that appears, type in your first custom upload category, for example “Site photos”. Continue to press Add new category as many times as required. Click on the blue Save categories button to save your changes to the database.
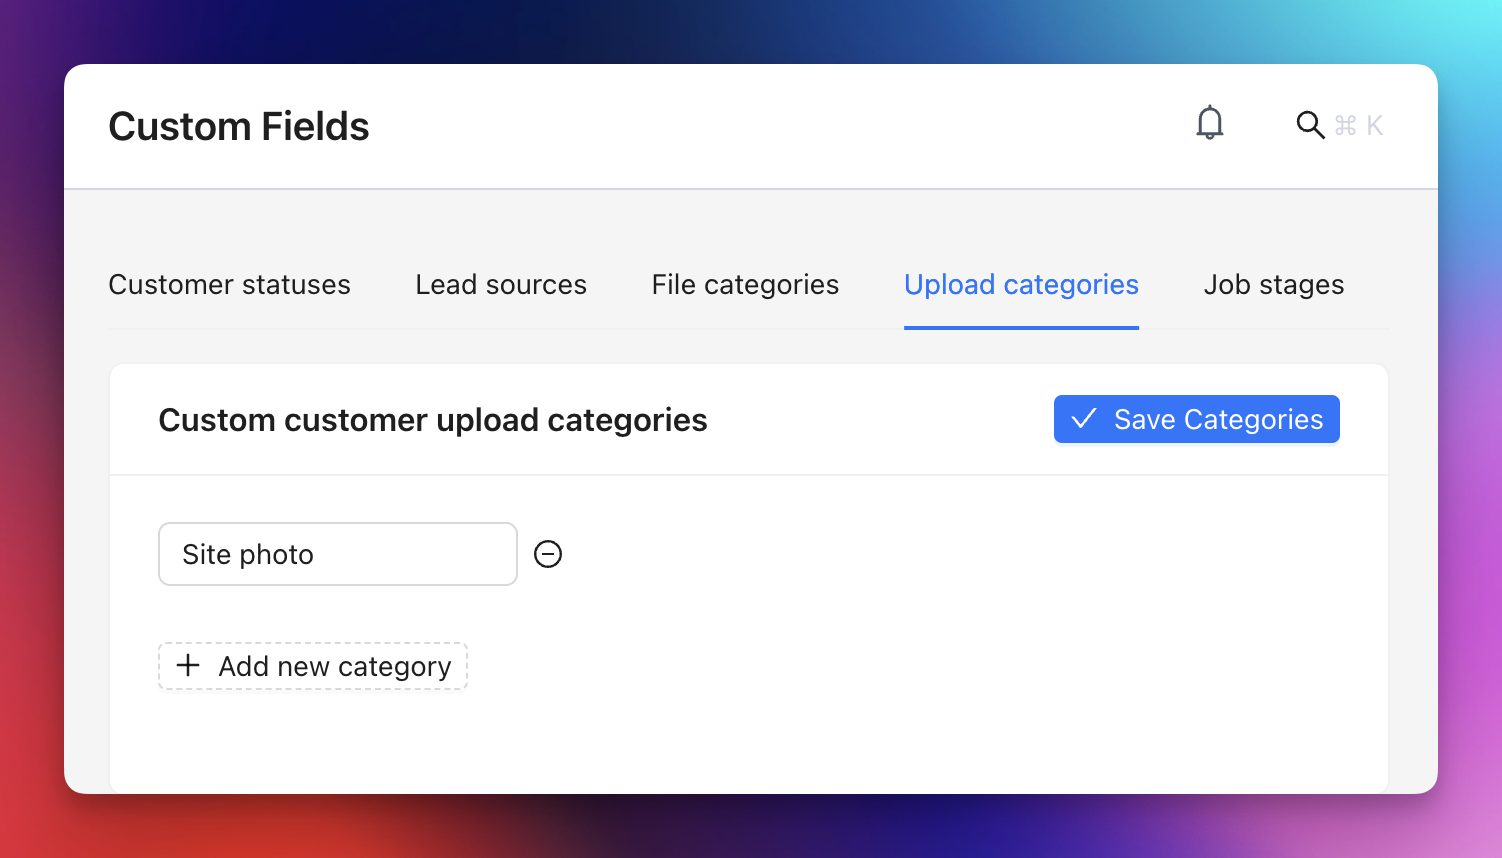
You can choose a default category for uploads from the Neptune mobile app and decide whether users must select a category when uploading.
You can add categories at any time. To rename or remove a category, first change any customer uploads that currently use it to another category. Neptune will not save the change while uploads are still assigned to the old category. If the category is the mobile app default, choose another default or clear the selection before removing it.
Job stages
Job stages describe the progress of your construction work. Admins can configure custom stages, Jobs table shortcuts, and Jobs board columns here.
- Open Admin > Workflow > Job stages.
- Select Add status, enter the stage name, and choose a colour.
- Turn on Show as quick filter for the stages you want above the Jobs table. Drag the shortcuts in Quick-filter preview to arrange them.
- Turn on Show on Board for custom stages you want as board columns. Drag the custom columns in Jobs Board preview to arrange them.
- Select Save changes. The saved choices apply when you return to Jobs.
Quick filters and board visibility are independent. You can include Cancelled as a shortcut even though it never appears as a board column. Stages without a shortcut remain available under More stages. Jobs filters show one stage at a time.
Until you customise the shortcuts, Neptune shows up to five stages, excluding Cancelled. You can turn off every shortcut and use More stages instead.
Draft, Completed, and Cancelled are protected stages. Their names and colours cannot be changed, and they cannot be removed. Draft always starts the board, Completed always ends it, and Cancelled stays hidden.
You cannot rename or remove a custom stage while jobs still use it. Create a replacement if needed, reassign the affected jobs, and return here to make the change. You can change a custom stage’s colour or board visibility without reassigning its jobs.
See Jobs for filtering, switching views, and completing jobs.