Neptune CRM Location: Planner
The Planner is where you can view and schedule customer tasks, lead tasks, appointments, job tasks, and blockouts for your team.
Types of tasks
- Job task: Work assigned to a user against a Neptune job. See the Jobs documentation for more information.
- Customer task: Work assigned directly against a customer without linking it to a particular job.
- Lead task: Follow-up work assigned against a lead before it is converted to a customer.
- Appointment: A meeting or call linked to a customer or lead, with one assigned consultant and optional additional staff attendees.
- Blockout task: Time when a user is unavailable, such as annual leave.
Use the Planner
Change the date and view
The Planner opens in Week view. Use the view control to switch between Day, Week, and Month.
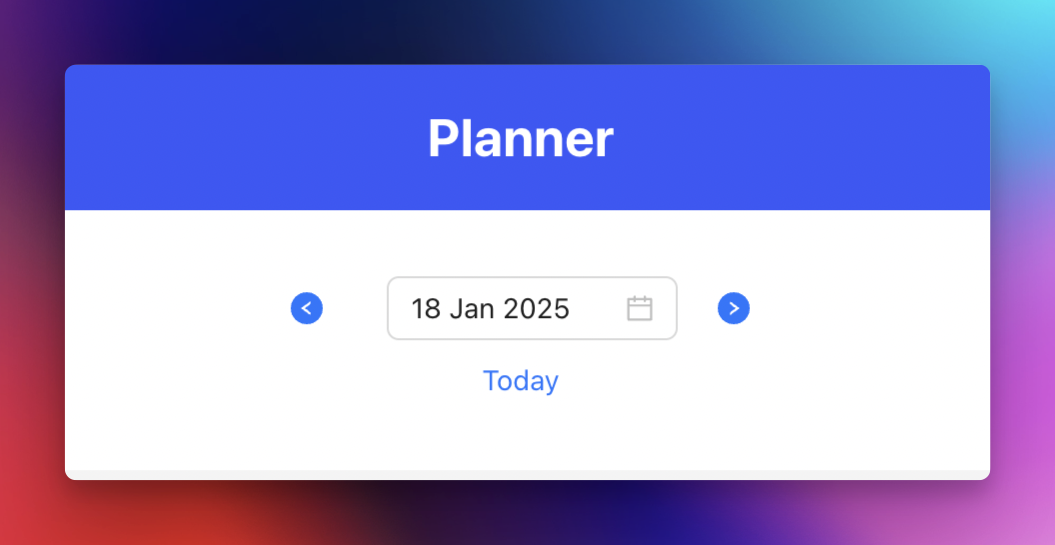
- Use the date picker to jump to a particular date.
- Use the left and right arrows to move backward or forward.
- Click Today to return to the current date.
Filter by user
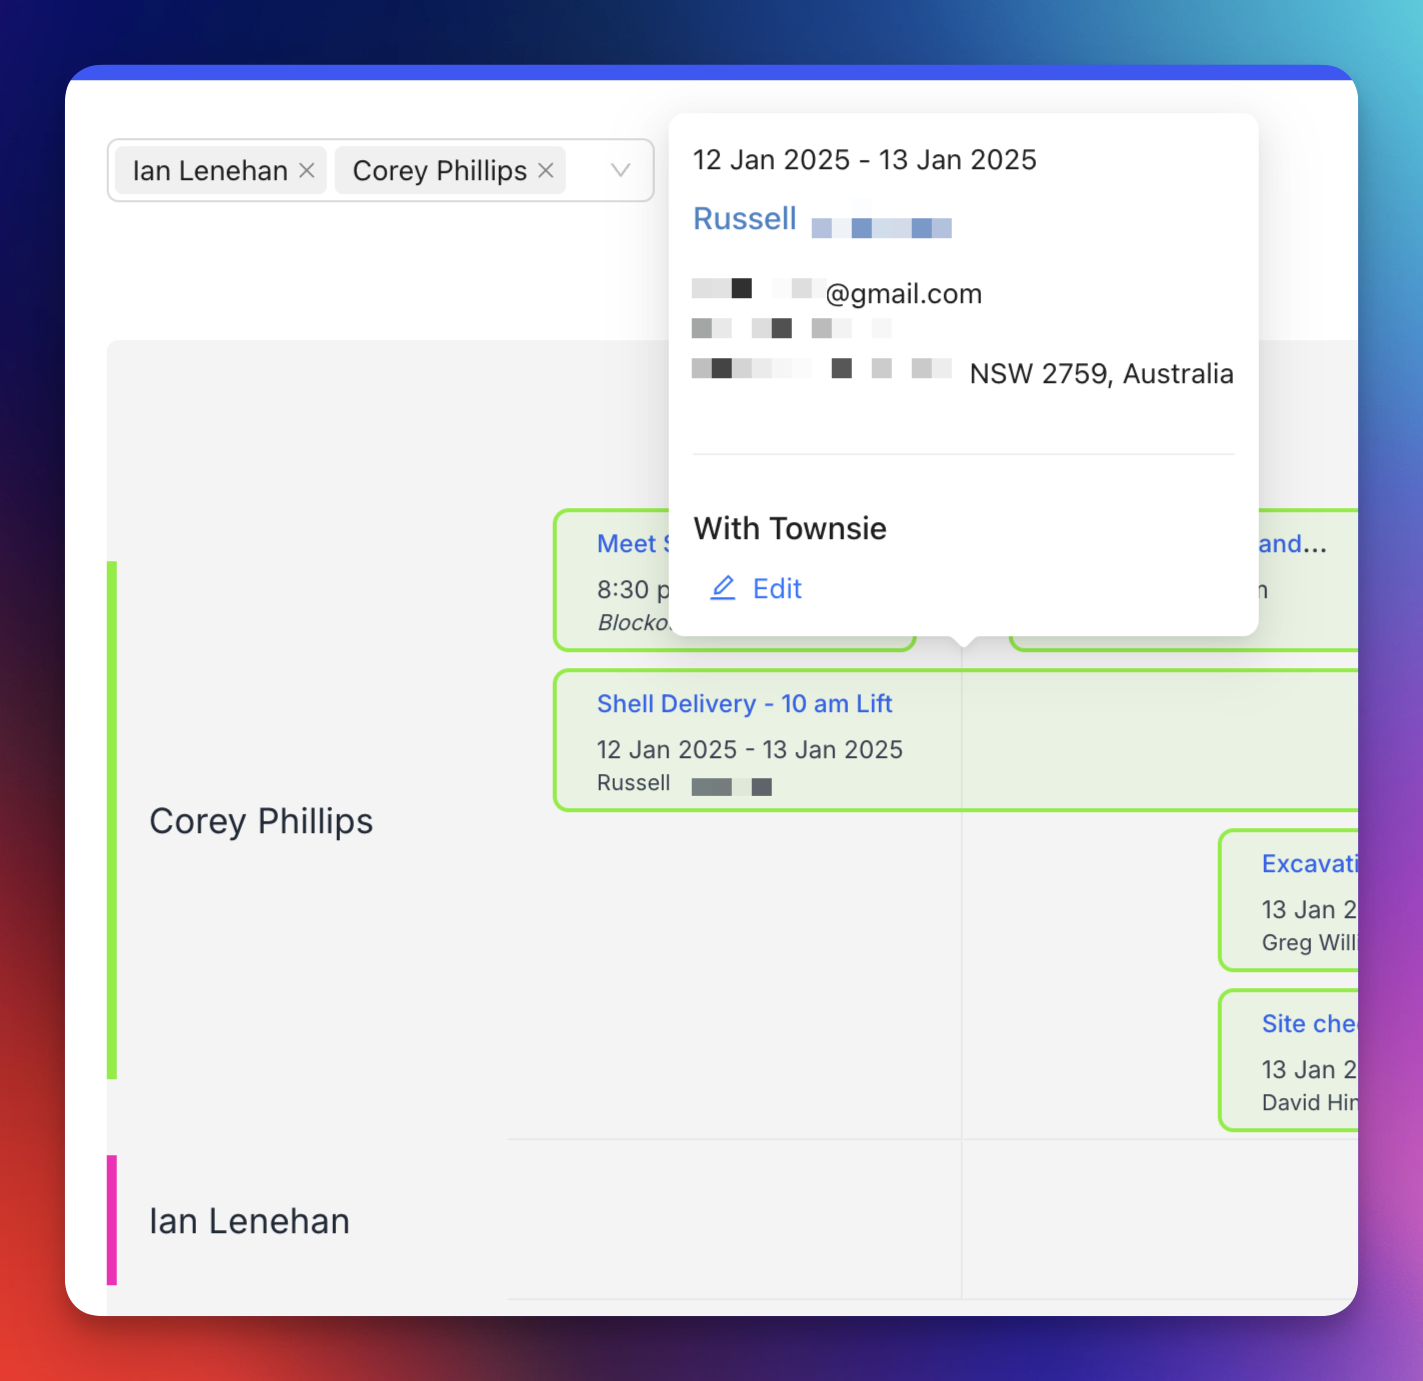
Use the user selector at the top right to choose whose tasks are displayed. Your own name appears first.
Each user can select an accent colour from their user profile or the mobile app. The colour helps identify that user’s tasks in the Planner.
Inspect a task
Hover over a task to see its details. Customer, lead, and job names link to their corresponding Neptune records.
Isolate one job
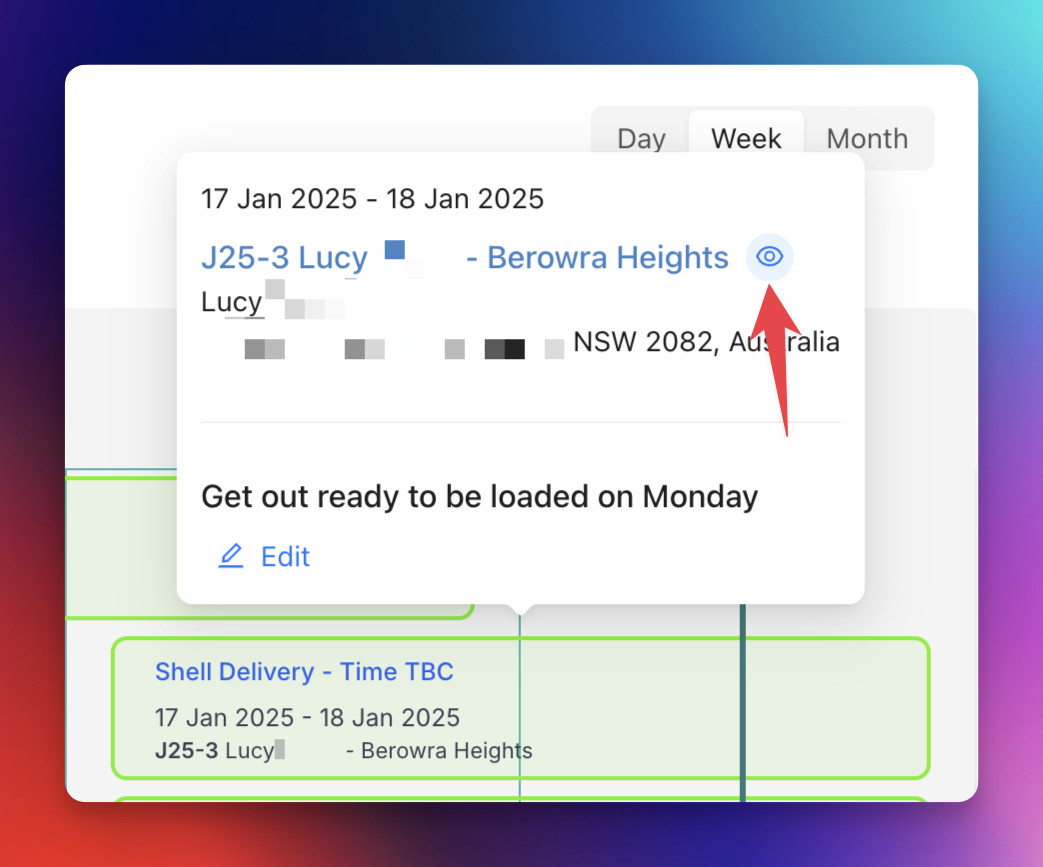
- Hover over a job task.
- Click the eye icon.
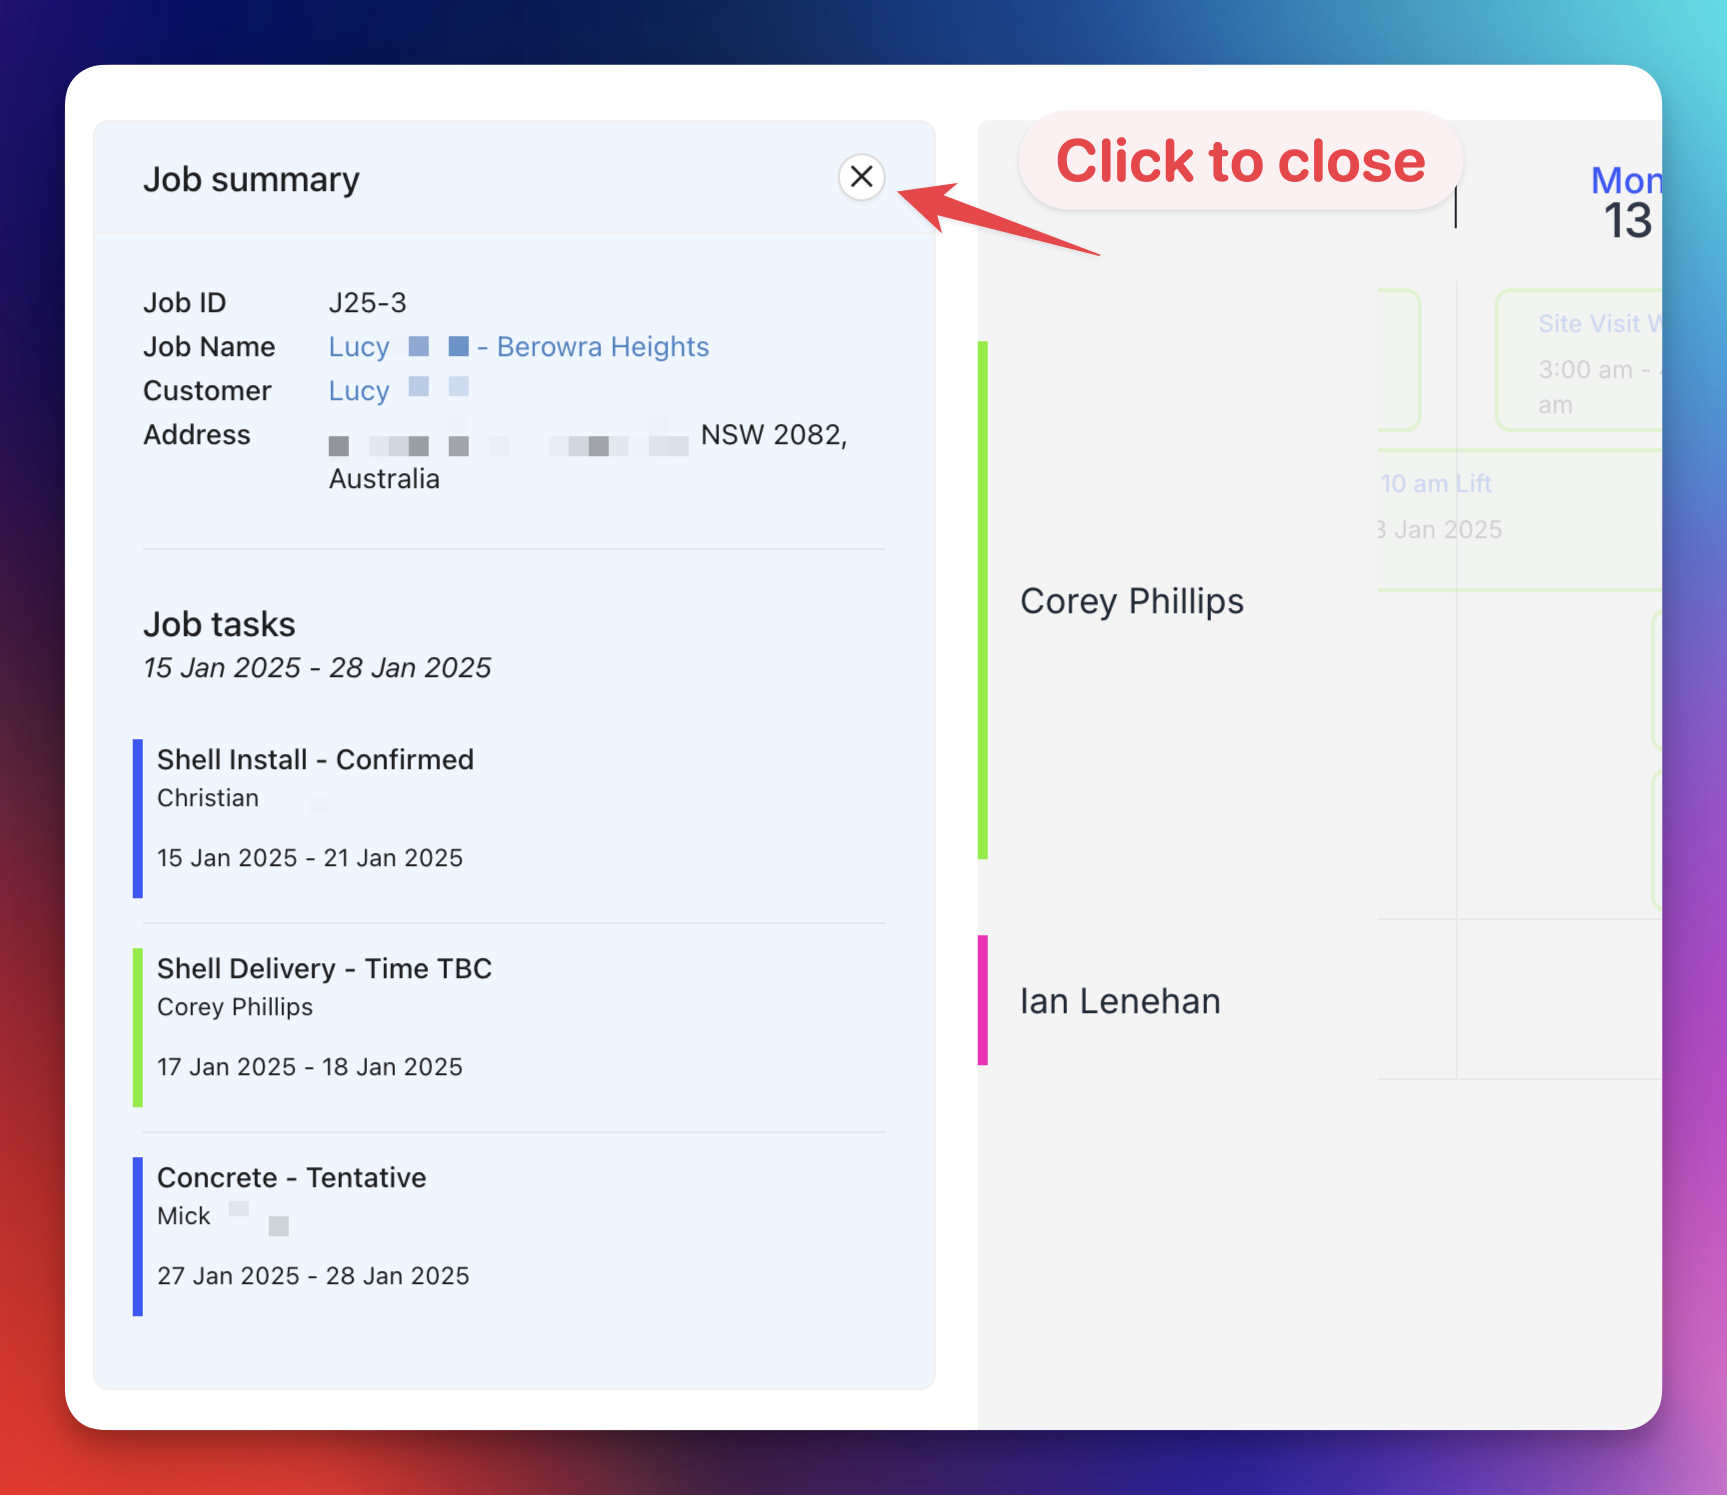
- Review the highlighted tasks and the job sidebar.
- Hover over a task in the sidebar and click the pencil icon when you need to edit it.
- Click X in the sidebar to leave isolate mode.
Create a task
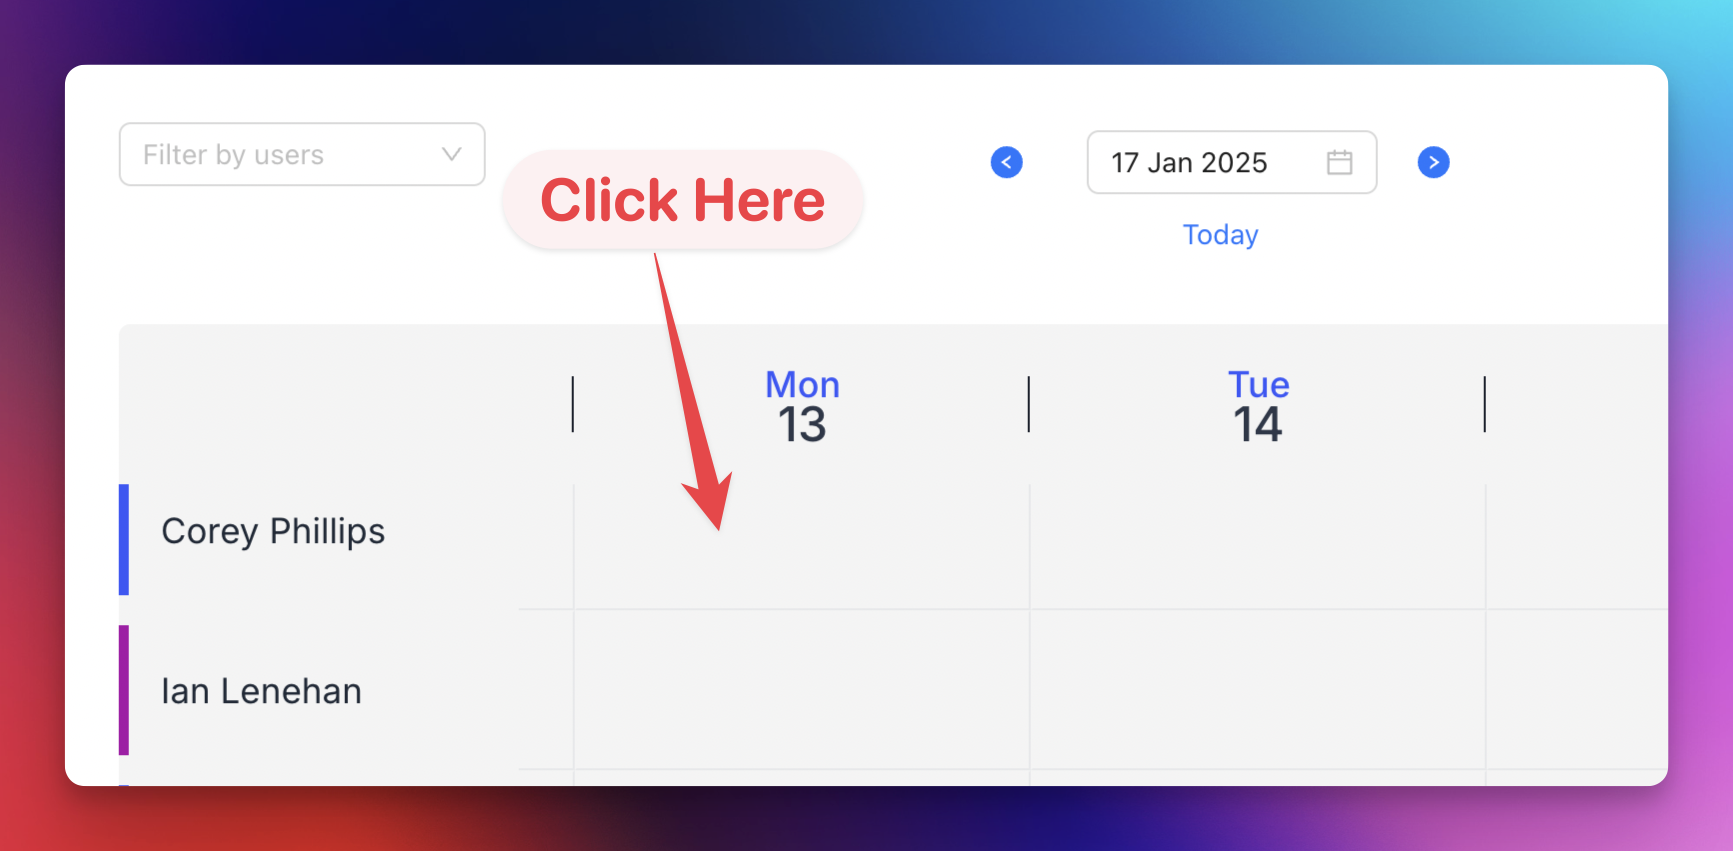
- Click an available space in the Planner.
- Check the preselected date, time, and user.
- Turn All day on when a specific time is not required, or set the start and end time.
- Enter a Title and optional Description.
- Select one or more users. Creating an ordinary task for multiple users creates a separate task for each selected user. To schedule one meeting with several staff members, create an appointment instead.
- Choose Job, Customer, Lead, or Blockout from Type.
- Select the related job, customer, or lead when required.
- Optionally select a Start form or End form.
- Click Save.
The job search accepts a job name, customer name, build address, or job ID. Customer and lead searches accept record and contact details. See Job Settings for information about forms attached to tasks.
Create an appointment
An appointment is linked to one customer or lead. It has one Assigned to consultant and can have several Additional staff attendees. It remains one appointment even when several staff members attend.
- Open the customer or lead record and choose New > Appointment. You can also create a task in the Planner, select Customer or Lead as the type, then choose Appointment under Activity.
- Set the start and end date and time, then enter a title. Check the linked customer or lead.
- Choose the consultant in Assigned to. Add other staff in Additional staff attendees if they should attend.
- Under How will it take place?, choose On site, Video call, or Phone call. For an on-site appointment, check or edit the address filled from the linked record. For a video call, you can add a video link.
- Leave Appointment status as Scheduled when arranging a future appointment, then click Save.
The appointment appears on the Planner for the assigned consultant and additional staff attendees. The Appointments view lists it once and links back to its customer or lead record.
Manage appointments
Open Planner and select Appointments at the top. Use the date range, status filter, and user filter to find appointments. The list shows the linked record, time, assigned consultant, additional attendees, and status.
When an appointment finishes, select Attended, Cancelled, No show, or Postponed in its Status field. The check and X buttons are shortcuts for Attended and Cancelled. To change the time or other details, click the edit button, update the appointment, and save it.
A past appointment still marked Scheduled shows an orange warning icon. Choose Needs outcome in the status filter to find these appointments and record what happened.
Edit and move a task
To edit a task directly:
- Hover over the task.
- Click Edit in the task details.
- Update the task.
- Click Save.
You can also change a task from the calendar:
- Drag the whole task to move its start and end together.
- Drag a task edge to change its duration.
- Drag a task vertically to assign it to another user.
After dragging or resizing, Neptune opens the task drawer with the proposed changes. Review the details and click Save to confirm them.
For an appointment, use Edit to change its assigned consultant or additional staff attendees.
Use linked job scheduling
Linked job scheduling moves a chain of job tasks while respecting the delays between them. Linked chains are created from Job Templates.
Create a linked task schedule
- Open the job.
- Open Add Task and select Run Job Template.
- Choose the Job Template.
- Enter the first task’s date and confirm its assigned user.
- Click Save & Next to create the task and continue.
- Review each suggested date before saving the next task.
Neptune uses the preceding task, template gap, working calendar, holidays, and assigned user’s availability to suggest each downstream date.
Change or disable a dependency
- Open the job’s Tasks tab.
- Open the ellipsis menu for a linked task and select Edit link.
- Change the gap amount or unit when required.
- For a day-based gap, choose Working days or Elapsed days.
- Clear Enable dependency link when the task should stop moving with the chain.
- Click Save link.
Reschedule linked tasks
- Open the job’s Tasks tab.
- Open the ellipsis menu for the task you want to move.
- Select Reschedule linked tasks.
- Choose the new start and end.
- Review every downstream change in Preview.
- Review Clashes for other work assigned to the same users.
- Click Apply changes.
Clashes are warnings. They do not prevent you from applying the schedule.
Configure linked scheduling
These settings are available to admins and control how Neptune calculates linked task dates.
Set the organisation working week
- Open Admin > Organisation > Scheduling.
- Turn each working day on or off.
- Set the start and end time for each working day.
- Click Save scheduling settings.
These hours are for jobs and the planner. Sequence follow-up uses a separate send window. See Sequence quiet hours.
Add public holidays
- Open Admin > Organisation > Scheduling.
- Click Seed from country or Add holiday.
- Check each holiday date and name.
- Remove holidays that do not apply.
- Click Save scheduling settings.
Override one user’s availability
- Open Admin > Users and select the user.
- Under Scheduling availability, turn on Use a custom schedule for this user.
- Select the user’s working days and hours.
- Save the user.
Turn the override off when the user should return to the organisation schedule.
Configure template gaps
- Open Admin > Job Settings.
- Create or edit a Task Template.
- Set Gap after task and choose minutes, hours, or days.
- For a day-based gap, choose Working days or Elapsed days.
- Save the template.
Working days skip unavailable weekdays and configured holidays. Elapsed days count calendar days. A Job Template can override the gap for an individual step and can use Business days only to keep generated tasks on working days.
See Job Settings for more information about Task Templates and Job Templates.
Linked scheduling behaviour
- Changing availability or holidays does not automatically move existing tasks. Use Reschedule linked tasks to recalculate them.
- Disabling a dependency stops that task from moving with its predecessor.
- Rescheduling affects downstream tasks in the linked chain, not unrelated tasks on the job.
- Clash warnings should be reviewed before applying changes, but Neptune does not block the update.